Tampilkan postingan dengan label Automotive Design. Tampilkan semua postingan

Selasa, 07 Februari 2012

Project Review: The Phantom 2040- PARTLXXXXII [92nd]-Perspective-Grid_Underlay-Drawings

Here is a Phantom 2040 ambulance Hypercruiser under drawing with the perspective grid in the tracing sketch.


An enforcer[ Police] Hypercycle with a very simple base grid for this.


The Phantoms Hypercycle[ Design One] as a grid underlay drawing. It became this, so I used the  above version for another Police cycle as well as seen here.


Dr JAK's Multicrusier Grid over the Xerox super-rough comp. You can see the craft here, here, and here.


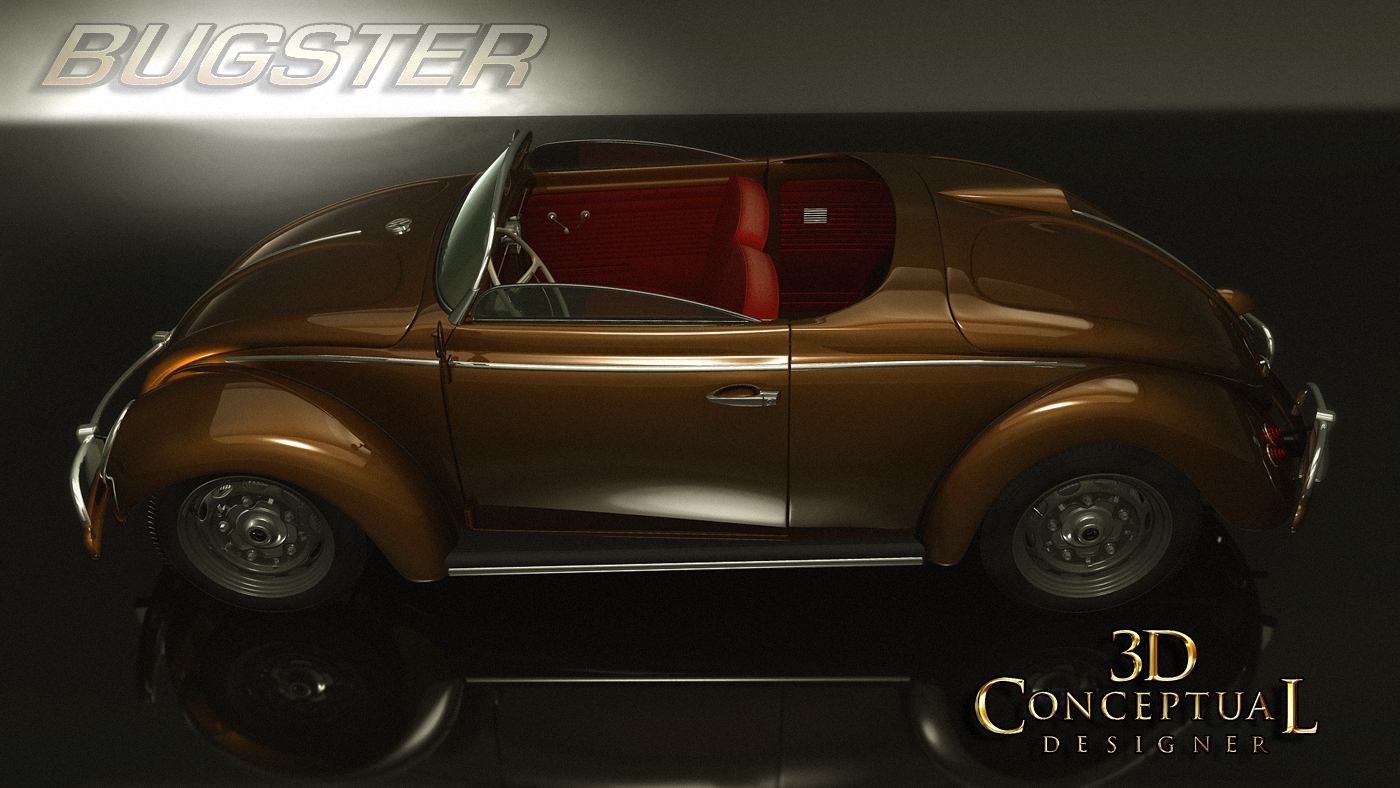
 Here is the grid layout I did for Maxwell Madisons Hyper Cruiser seen here, here, and here.


Phantom 2040-PART LXXXXII [92nd]
Perspective Grid Underlay Drawings

Client: Hearst Animation Productions.
Art Director: Myself.
Project Date Spring 1993.


This is my 92nd posting for my  Phantom 2040 conceptual design work that I did on the series in the early ninety's.

I always do a rough sketch by hand or with a few tools to block out my designs over a grid I make first. I then will overlay that and detail it out a bit. If this is good to go, I do a line art file that would go to get inked by the prop team. I have put up a few vehicle designs that I did this was to show the development of the design and the process I use to get there.
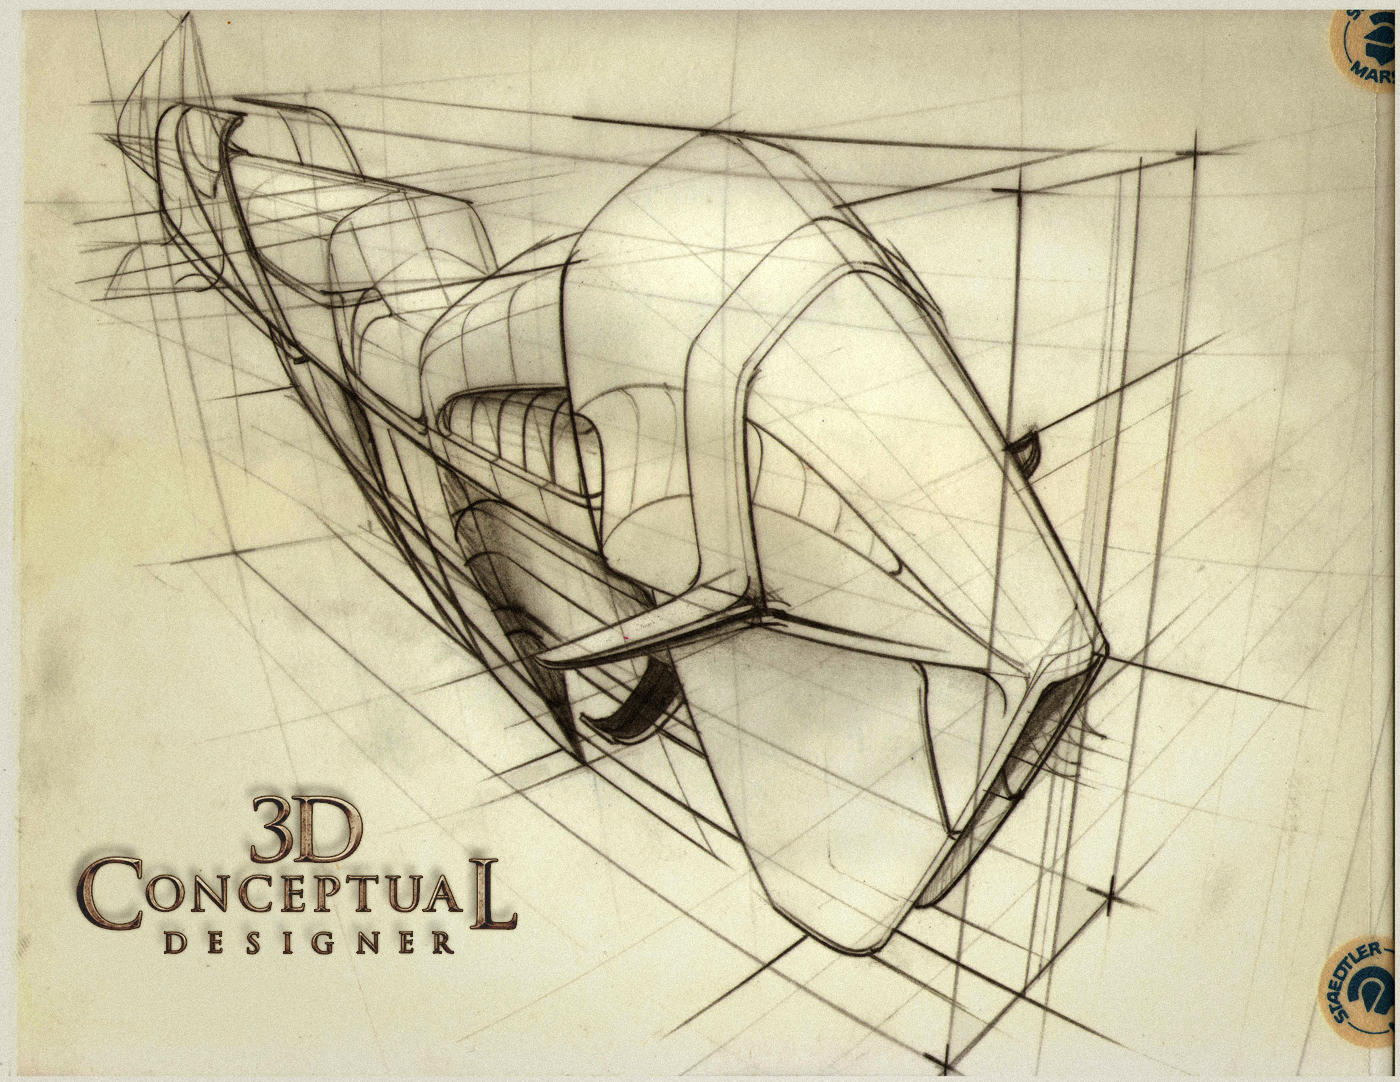
What I've posted today are those early underlay drawing for a few vehicles from The Phantom 2040. Dr JAK's, Multicruiser vehicle, has a two layers there, as I did a mini-sketch, blew it up on the xerox, and then overlaid that as seen above in the tracing paper sketch.
Overlay drawing allows you as a designer the ability to design a bit more freely, as you know this is not the final so you can make mistakes and finesse the design is stages. 
Also as taught at Art Center, it also allows you to block out the base volume of the object in proportion first and flesh it out next, so you do not get lost in the details first, but they become a secondary design element.

If you are a FAN of The Phantom 2040, and on FACEBOOK, there is a group dedicated to the show here.

There is a TAG on the list to the RIGHT for other Phantom 2o4o entry's, but you can click this as well.

Cheers, THOM

Kamis, 26 Januari 2012

Personal Projects: Napkin Sketching Part XV


 A Craftsman Arts and Crafts 1920's era Cabin. River rock base and an attached greenhouse up in the Pacific Northwest.


 I knew a bartender who worked at Q's in Pasadena in the 90's he eventually went to Occidental and became a Graphic Artist. We always chatted when I had a Newcastle and doodles, this is him.


 An Alien in a full hooded space suit having a scotch[ Lagavulin!]


A speeding American Taxi with a Buick Tooth grilled toon car.


Napkin Sketching Part XV
 
 In this fifteenth installment of the Napkin Sketches, Drawings, and Doodles I do when I have a pen in hand, I have put up a few additions today that I had scanned in from the mid 90's.

I found these still in my old school portfolio book I used to carry around before the advent of my blog and website. It has these napkins taped into a layout for almost a decade, so I pulled them out yesterday, scanned them for todays post.

I have a little Arts and Crafts Bungalow cabin with an attached greenhouse on the side. This little one was done near the time I was going up to Spokane for Cyan[ 1999], as I was looking at the homes around there in the Arts and Crafts style as I was considering a move up there.

I also always do these little characters and Heavy Iron cars as well on a regular basis. And even though I re draw a few cars over and over, I always get a little bit out of the exercise in perspective and basic hand control for the sketching itself, as well as each design is different is some way or another.

I always sketch and sometime soon, I hope to get digital with it with a tablet with a digitizer pen[ NOT captive] so I can sketch with varied line weight and pressure sensitive thickness and opacity variations in the lines.DELL and ASUS now offer this.

You can view the other parts as follows:

PART I

PART II

PART III

PART IV

PART V

PART VI

PART VII

PART VIII

PART IX 

Rabu, 30 November 2011

Personal Project: The Bugster Coupe- PART II

 I wanted a light grey/silver version with a bright red interior to see the design in a lighter shade.


 This tipped up view shows off the red/black combo that was typical in early VW and Porches of the era.


 Had to try the 'rootbeer' color on this one too, I have seen this color on a 54 VW.


 This ambient render shows the panel seeas better so you can see how I have adjusted the door tops and rear cowl area. Still deciding on rear louver placement, then I finish the tin work up.


 The side view as an Ambient Render,  reveals the decklid is a bit wide and overhangs the rear fender beading, this will be addressed in ROUND 2.0 once I have time to put into her design.


Personal Project
The Bugster Coupe
PART II

So here is Part II, as a follow up to Mondays posting, with some additional images of my Bugster custom VW coupe project I just started this past weekend. As a Transportation design graduate, a project like this is something that I have always wanted to do since a 3D representation of a design is so helpful to do before any metal is cut, and 3D software is the tool to do this as the changes are very fast to implement and see finished the same day, this is a great strength of 3D design.
The model is a work in progress still[ WIP], as I have not welded the big panels into the body yet so I can adjust the overall curves and proportions before it is all one piece. I have some tweaking left to do as well as some design decisions needed to continue, so this is next up.

In the following weeks I have some plans to finish this out, and do the Volksrod alternate version as well, a fender-less I-Beam front ended hot rod version of the Bugster too. I plan to put the uncovered bomber seats from a Speedster in there[ covers on for this one], the Speeedster top and tonneau covers, and I plan to do the entire engine compartment design too showing the huge tray behind the motor now which is about 75% done from when it was going to be used for Herbie[ that portion of the MGFX was scrapped- a motor fly out anim].

Look for more posts as I continue with this personal project in the months ahead.

You can view PART I here.

Cheers, THOM